
Step 2 – Launch IP Scanner
The first thing you need to do is find the IP of your ASIC. This can be done in this program, or you can use a lighter utility – IP Reporter.
Click “Start Scan” and then press and hold the “IP report” button on each ASICfor 3-5 seconds to begin adding devices.
Once you have connected the device to the network and power supply, the IP obtained during device setup is in DHCP mode and the IP address is not fixed. If you have many devices, then for ease of management you can set fixed IP addresses in batch mode.
Example: The router assigns the mode DHCP: 101-254. Just click the “start scan” button.
The scan will take about 30 seconds. When it is complete, a window should appear telling you that the process has completed: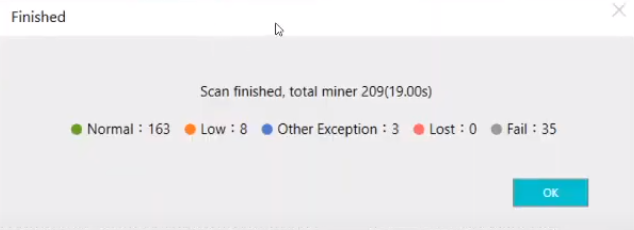
The utility will display information about what it found.The utility will display information about what it found.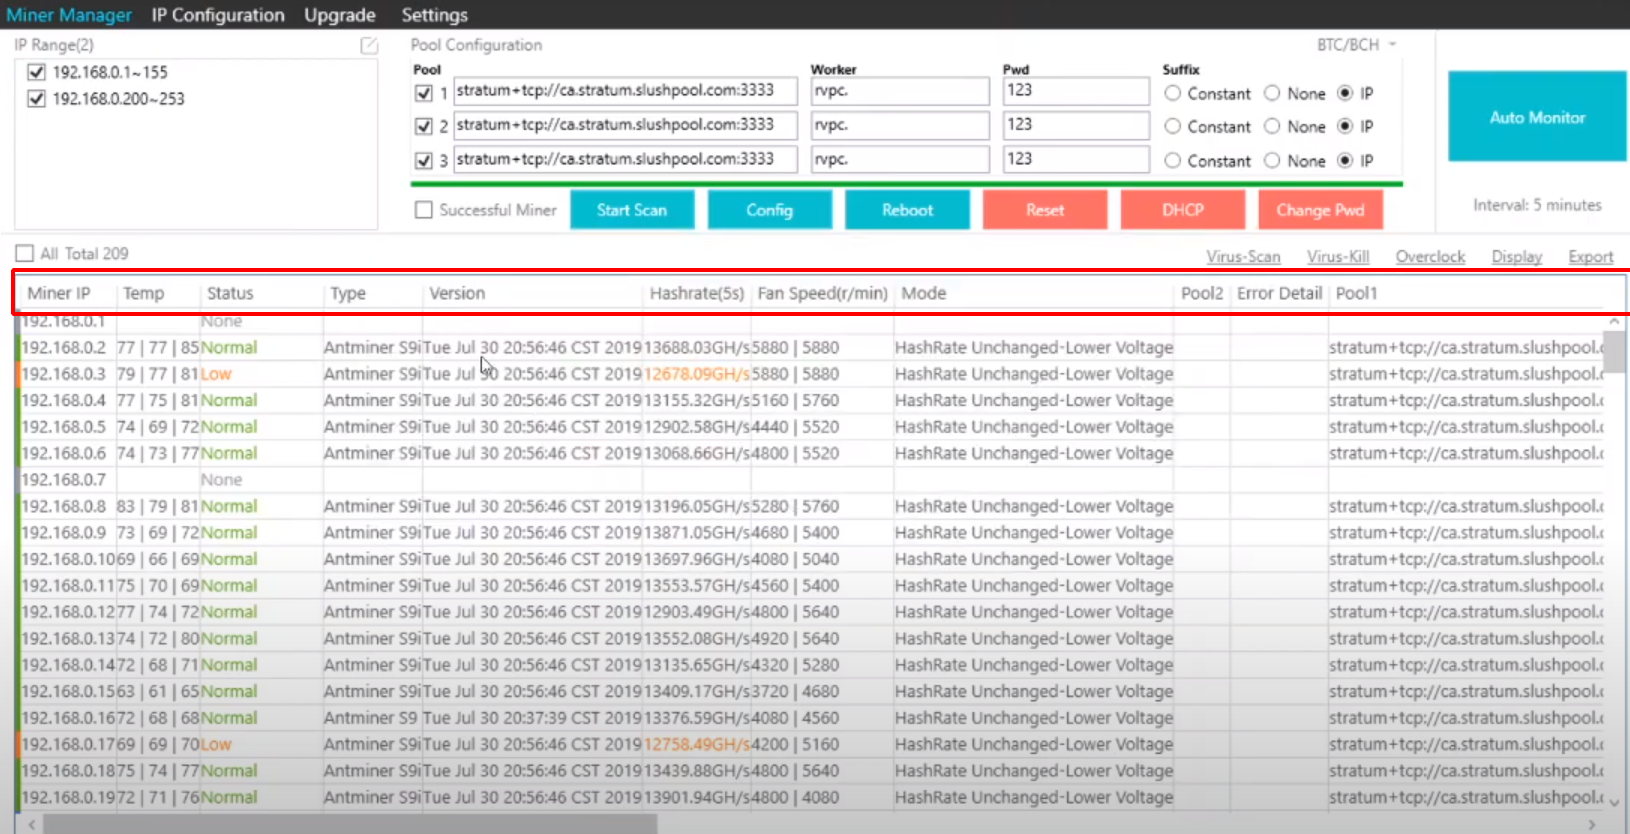
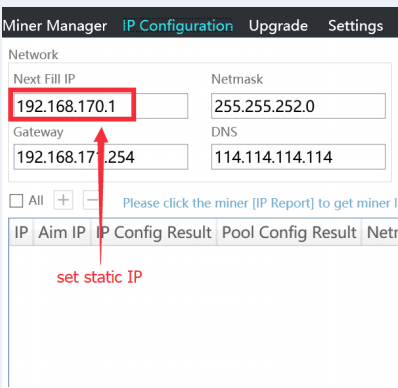
Enter the static IP address you want to set for the miner in the “next fill IP” field:
Step 3 – Configure APMinerTool
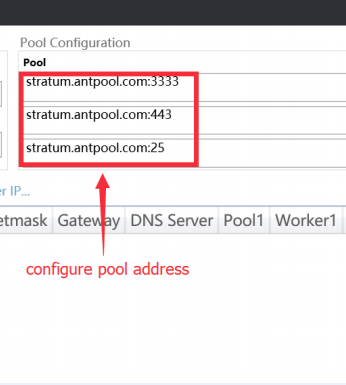
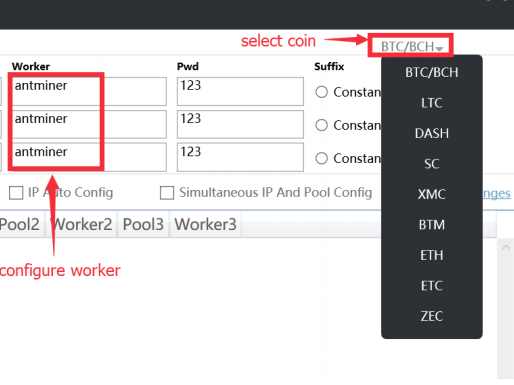
Enter the pool address and password in batch mode in the “Pool Configuration” section.
In the “Worker” field, select the name of the worker (to track statistics. The name can be anything. For example, “Antminer“). In the field on the right, select the type of coin to be mined.
View the list of available devices. The important part here is that you can see which devices have failed due to high temperature.